Showing posts with label drawing. Show all posts

Monday, November 24, 2014

5th Grade: Zentangle Animals

This is a project that takes a while, but if students will put the effort in always looks cool at the end!


First, we talk about drawing what we see, not what we think. We practice first with two drawings. One drawing I demonstrate with them, the second I have them do without my help. Students then pick out their own animal picture and apply what they've learned to drawing an animal. There are a lot of choices so they can pick something simple or complex! But they need to draw it the way it looks in the photo - drawing what they see!


This student did not get to add color to his (due to time contraints), but I thought it was a good example of the process. Photograph, draft, and final drawing!!


After students draw their animal, they split the entire drawing up into 6 or more sections. Each section will be filled in with a solid color of paint. After it's dry, students will begin adding patterns to each section. Below are the examples that were chosen to hang in the hallway.


Wednesday, May 8, 2013

Zentangle Portraits: 6th Grade

This project is pretty simple. After drawing self-portraits, students split the hair into sections and added patterns. All pencil lines were traced over with a fine-point black marker. Patterns were not done in pencil first, but rather right away with the marker.

Thursday, November 1, 2012

Bare Trees with 1st Grade

I did a project with my 1st graders yesterday on Halloween. It was a really bad idea because they were completely crazy with thoughts of costumes, candy, and fun times. Luckily, they came to art class immediately after their fall party in the classroom. Seriously, my 1st graders were crazy-town yesterday! They finished the project in about five minutes. Not okay.

I searched Pinterest (yes, I finally gave in) for a quick, filler project and found this. I thought drawing trees would be a cute project even if none of them ended up looking like trees are supposed to.

Let me just say, my 1st graders blew me away!! These turned out so well!!

I drew a tree under the ELMO document reader using the letters "Y" and "V." I used crayons only; crayons are my favorite. Here is my example:


Here are the awesome trees made by my talented 1st grade students!


I'm so proud and impressed! I may have used this as a filler lesson, but I think now that I should develop it into a bigger lesson! These look so cool!!

Thursday, October 11, 2012

Kindergarten: Shape Family

This lesson allows for students to use the four main geometric shapes: square, rectangle, circle, and triangle. I borrowed this lesson from my student teaching experience!

I review the shapes with the class, pass out a paper with all four shapes, instruct students to color, cut, and glue!

After reviewing the shapes, I ask students to raise their hand and tell me an idea for how to use all the shapes together. This helps get the creativity flowing. A lot of my students did "Hickory, Dickory, Dock" in one class ; however, I did not get any pictures of these.

Here are the pictures that I managed to capture! I allowed students to pick out the color of construction paper they wished to use.


The arrow shows his dad's head rolling off. These Kinders are silly!


Kitty!


I love when I get their little hands in the pictures!!

Tuesday, October 9, 2012

3rd Grade: Underwater Scratchboards

With the third grade, I did two scratchboard projects. The first one we used crayons on tagboard. Students were to press hard with the crayons and create vertical lines. I told students to use any color but black. After the vertical lines were finished, students used black to cover everything up. We used wooden, pointed sticks to scratch different types of lines into the black and the colorful under-coloring was revealed!!

That lesson lasted a week. It served as a warm up for a bigger, more exciting scratchboard lesson that lasted two weeks.

Day 1: Students color vertical lines in rainbow order on a piece of tagboard. Our tagboard was cut to the size of about half a sheet of paper. Like before, students were to press hard with the crayons. I listed rainbow order on the chalkboard and included pink. (25 minutes)

During a prep period, I painted black tempera mixed with hand soap over the top of the colored tagboard. It is very important that students remember to write their names. Once they are painted, they are indistinguishable!


Day 2: I displayed about 20 pictures of fish/underwater life. I handed out computer/free draw paper and had students draw ONE creature from each photo unless stated otherwise. I explained that they would use these drawings on their scratchboards. Students were told they would not have to use every fish/creature they drew, just the ones that they liked best. (50 minutes)

Day 3: I gave students scrap paper the same size as the scratchboard and told them to draw what they were going to put on their scratchboards. I stressed to have some big creatures, medium creatures, and small creatures. I showed my students an example (that I did myself!) to further explain what I meant. Students also were told to put a lot of patterns on their fish and other sea animals. (25 minutes).


Day 4: Finally, students were able to scratch their pictures!! I laid down newspaper, as this can get messy. Here are the results from two of my third grade classes!!


Beautiful, expressive results!!

Chicka Chicka, Boom Boom: Letters with 1st Grade

This is a lesson I borrowed from my student teaching experience. On YouTube, I found the Scholastic video "Chicka Chicka, Boom Boom." I had students watch the video and ask them to pay close attention to the way the letters move.

After watching the video, I handed out paper to the students. I demonstrated how to turn a letter into something different, i.e. an H into a horse. I then had students draw the first letter of their name and turn it into something.

I feel like this may have been more successful if we had first done one all together, but I only have 25 minutes with 1st grade at the school I've taught this. Sad! Here are a few great examples!


C into Cat


T into a Table with an umbrella!


O into an Egg in a bird's nest.

Kindergarten: More Shape Lessons

Here is a compilation of some awesome results in Kindergarten. I've been working through shapes a little at a time. I thought these were so cute!!

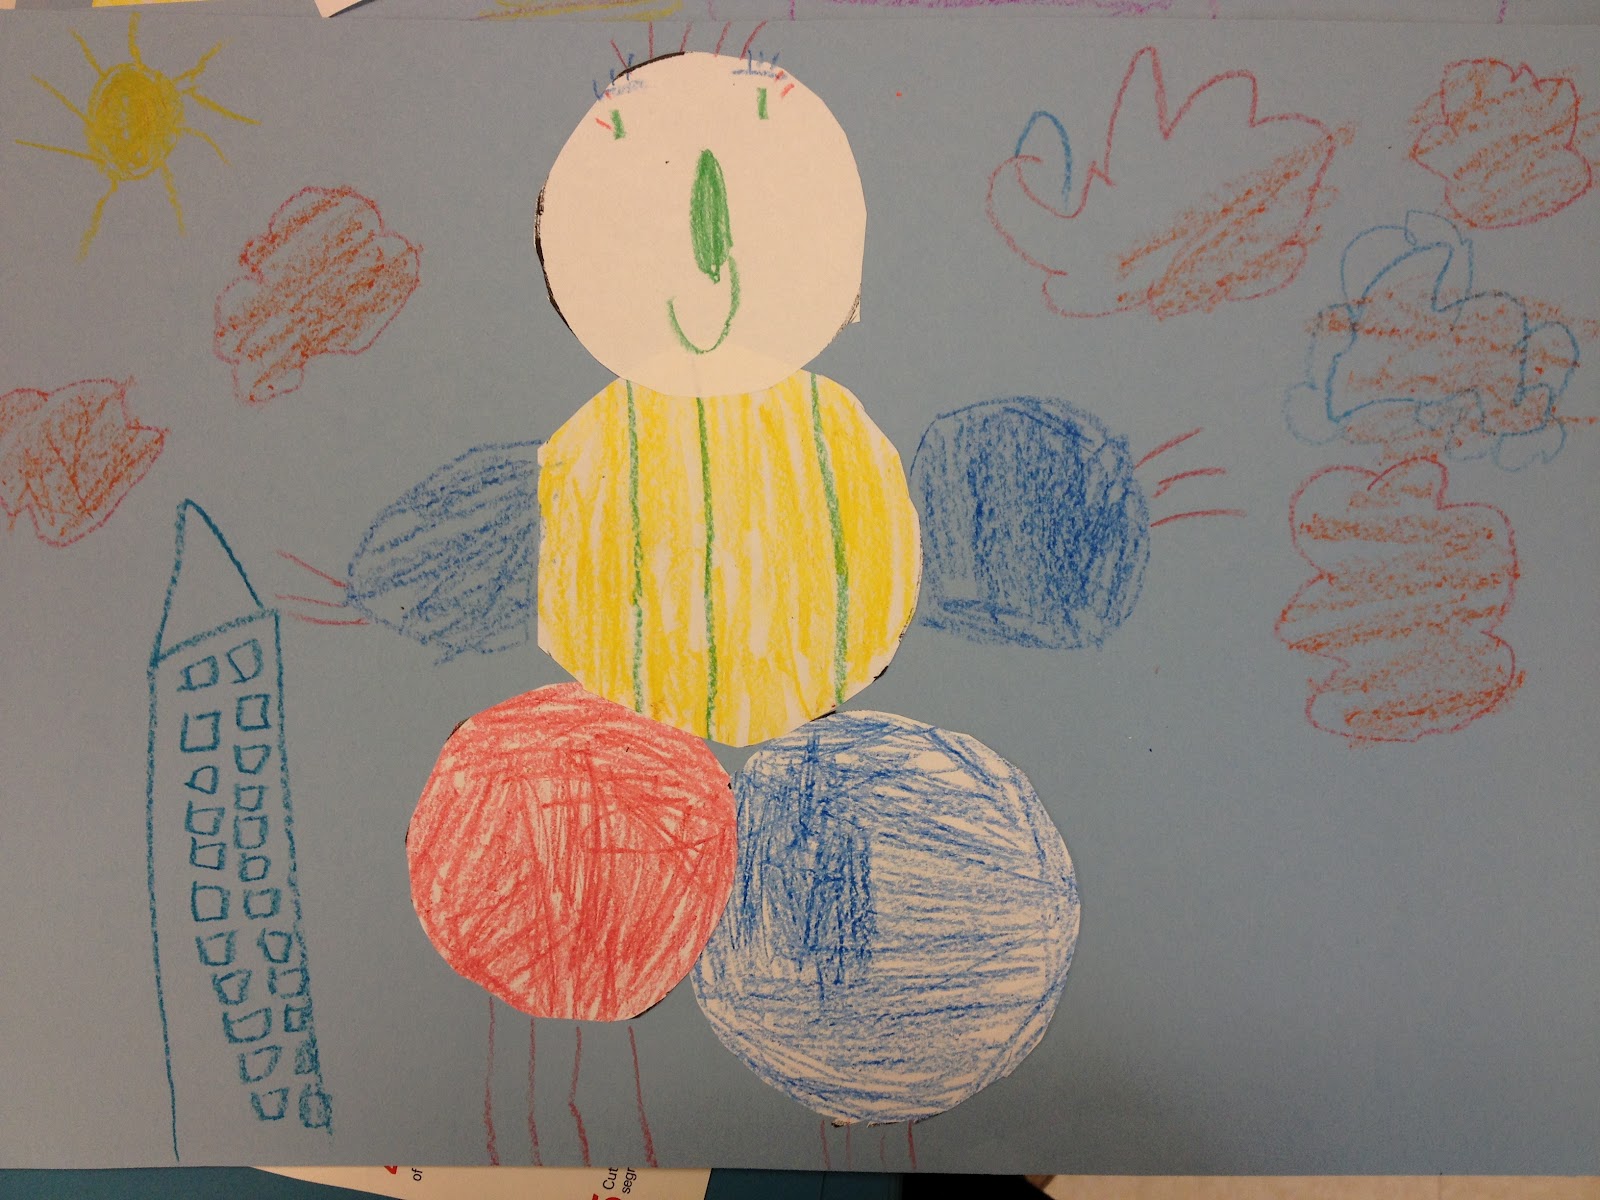
First, take a look at the circles! I gave students a sheet of paper with four circles, had them color the circles, cut them out, glue them, and create a full picture!


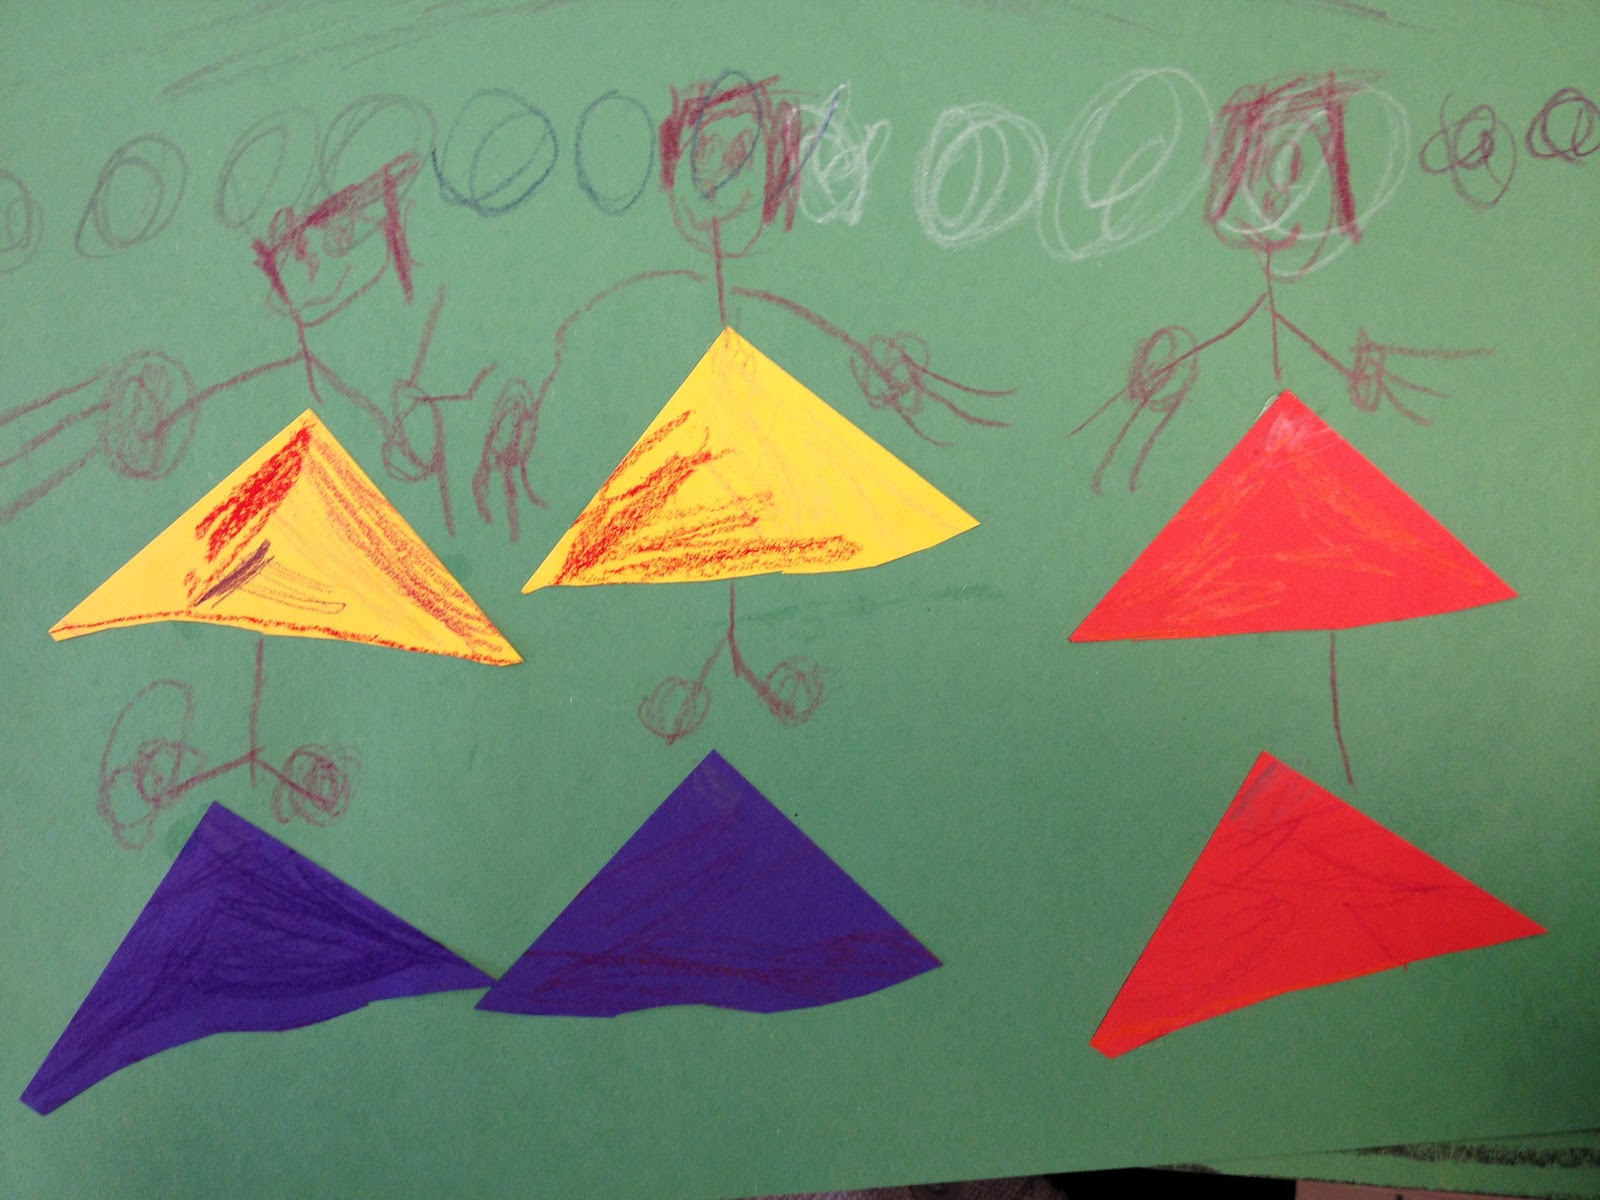
I believe I already posted about the Triangles, but here are some I could not resist posting!


"Hang-gliding through the Himalayan mountains."
Seriously, so creative!


So much expression can be found in each student's piece! I am always astonished at the talent I discover in my classroom.


blogger template by lovebird