Showing posts with label Kindergarten Art Lesson. Show all posts

Tuesday, May 7, 2013

Cupcakes: Kindergarten

I was really struggling with how to teach Kindergarten about texture. This project just came out of nowhere and it is now one of my favorite projects!

I precut a LOT of cupcakes out of posterboard for my Kindergarten classes. Seriously, my hand hurt for hours after cutting all these out.


I gave each student a cupcake a paint pallet of four colors: red, blue, yellow, and white. I told students to start painting! I loved listening to them discover how colors create other colors all on their own! They even remembered it later when we talked about primary and secondary colors. Teacher win!


The next class, I gave students a paper to draw patterns on. We talked about how patterns can create texture. After the patterns were all drawn, I demonstrated (and helped a lot of students) how to fan fold! During my prep period, I stapled the paper to the cupcake bottom. I explained to the students how the folded paper also created texture!

Here is my example: 


The last step was to add sprinkles! I gave students a pile of foam stickers on their table. Some students used all of the stickers, some only used 10-15. ALL of the results were perfect!


Blue Dog: Kindergarten

This project is awesome!! I walked the kindergartners through a blue dog drawing step by step on a piece of blue paper. All we used were blue, white, and black crayons (and yellow for the eyes!).

There are so many paintings of blue dog! We looked at many different paintings. I then had students create their own, unique setting for their blue dog. I encouraged students to make the setting something special about themselves, i.e. a favorite place, where they are from, etc.

Here is one of my blue dogs:


Check out how talented my Kindergartners are!


The final project on display in the art room!


Monday, January 14, 2013

Kindergarten Alligators

This lesson (another I borrowed from my student teaching experience) made use of the shapes students had already learned and made something BIG out of them! That's right, alligators!! The students LOVED these (and the teachers even commented on how cute they are!)


Each section was executed in a similar way. I cut strips of paper (yellow for squares and circles, green for feet) and figured out how many times they would have to be folded in order to create squares. We folded our paper together as a class. I had students cut out each square by cutting on the fold mark. The squares were glued on as is. For circles, I had students draw circles on each square.


Here is a visual for the face and teeth. I drew and photocopied the eyes/teeth paper. When I taught students how to create toes, I related it to letters (V, W) they had been learning (woo!)

My kindergartners did SUCH a good job following directions on how to glue the teeth/feet on! Their end products were even cuter than my example! But isn't that always the case?

Thursday, November 8, 2012

More Kindergarten Shapes: Organic and Shape Family

Since I am at two schools with two different schedules, a lot of my classes finish projects at different times. I am sharing a few stand-outs from my kinders/1st graders projects on organic/free-form shapes and the shape family. The creativity contained within these children is always so astounding!


This student graded her own artwork, ha!


Tuesday, October 23, 2012

Kindergarten: Types of Line

I got the idea for this lesson while browsing through the art teacher tag on Instagram. When I see an idea I want to use, I take a screenshot and save it for later. This is the first one that I have I put to use!

This lesson does require some prep, unless you honestly expect kindergartners to be able to use a ruler properly. I used scrap paper from another project. I had cut four inches off of paper for another grade and was left with these 4x12 inch slices of paper. On the short sides of the paper, I picked a width and marked it with lines that would later be connected by my students. This is important so all of the lines will fit next to one another and form one, larger line.


I used a method I learned in printmaking class to mark the papers more quickly.


I started the lesson by asking the students to give me a definition of a line. This discussion guided the class to talking about different types of line. I had a half sheet of computer paper that I put each type of line on, i.e. zig-zag, curvy, wavy, thick, thin, etc.

I then demonstrated the project for the students while they watched around my table.
  1. With a black crayon, connect the top dashes with a crazy line.
  2. With a black crayon, connect the bottom dashes with a crazy line.
  3. Color inside the black lines (the middle) with a black crayon.
  4. Use all the other colors on the top and bottom! Make it random, not a "picture."
I demonstrated ALL of the steps for the students until it was through, emphasizing that they needed to color neatly, only use black on the line, etc.

I had students go back to their seats and passed out the papers with the front side down. I instructed students to write their names on the side I put down for them. I then vocally walked the students through all of the steps again. It may be necessary to walk around the room and help some with the line part. A lot of students don't want to color between the dashes, connect the dashes, etc.

As the students finished, I had them bring their lines to me at the back table. I put two pieces of masking tape on the back of their lines, and connected them all on the wall! I wrote the teacher's name on the inside of my line and put it at the very end. The students loved pointing out where their lines were. I'd say it was a pretty successful project.


Monday, October 15, 2012

Kindergarten: Organic/Free-form Shape

This is a fun lesson!! I do this lesson after the ovals and before the shape family. To prep for this lesson, I drew four random, squiggly shapes on a piece of paper. I cut each shape out (students receive one shape each).

Before starting the lesson, I discussed what a free-form/organic shape is. I talk about all the things that are free-form shapes (people, flowers, dogs, leaves, etc.) I then held up one of my free-form shapes and asked students what it looked like. I rotated it to see if their views changed. I did this for each of my four shapes. Students loved coming up with ideas, and it really helped stress that organic shapes can be anything!

I then handed each student a shape and had them turn it into something with their crayons. Like my previous lessons in the shape series, students cut, glued, and colored on a piece of construction paper to make a completed picture.

Here is one outstanding piece from one of my kinders! My school has empty black frames in the hallway for me to insert artworks into. This is a picture of a wolf howling in the woods! If you look closely, you can see the black lines around the wolf. That is one of the random shapes I drew on paper.


The results can be surprising! I love that this lesson gives students so much creative room!

Thursday, October 11, 2012

Kindergarten: Ovals

This shape unit took up the entire nine weeks! Week 8, I did a lesson with ovals. It was a little different than the rest of the shape lessons because I had a specific picture for the students to make.

To start out, I asked students to tell me what is a shape that kind of looks like a circle. I got a few that answered "square," and one student even answered "octagon." The students answer "oval" pretty quickly though.

I then held up the sheet with the ovals on them and asked what the ovals kind of looked like. The answer was unanimous: our ovals were EGGS! I photocopied three eggs per sheet. I passed out the sheets and asked the students to color them in however they wanted. Many students wanted theirs to look like Easter eggs.
After the students finished coloring, they cut out the eggs. Each student got a blue paper.

I did not pass out glue at this point because I wanted students to draw a nest for the eggs! I instructed students to first draw a long oval (like a hot dog), then to scribble the inside so it looks like grass. Kinders love to scribble and are very confident in their scribbling abilities, ha!

I then taught the students how to draw a bird on the side of the nest. Before each part (head, body, tail, etc.) I asked students what shape that was. This served as a review over the past lessons!

Students were then told to glue their eggs on their nest. I asked students to overlap their eggs, but not all of them did this. After gluing, students finished coloring their pictures. How cute are these?!


Tuesday, October 9, 2012

Kindergarten: More Shape Lessons

Here is a compilation of some awesome results in Kindergarten. I've been working through shapes a little at a time. I thought these were so cute!!

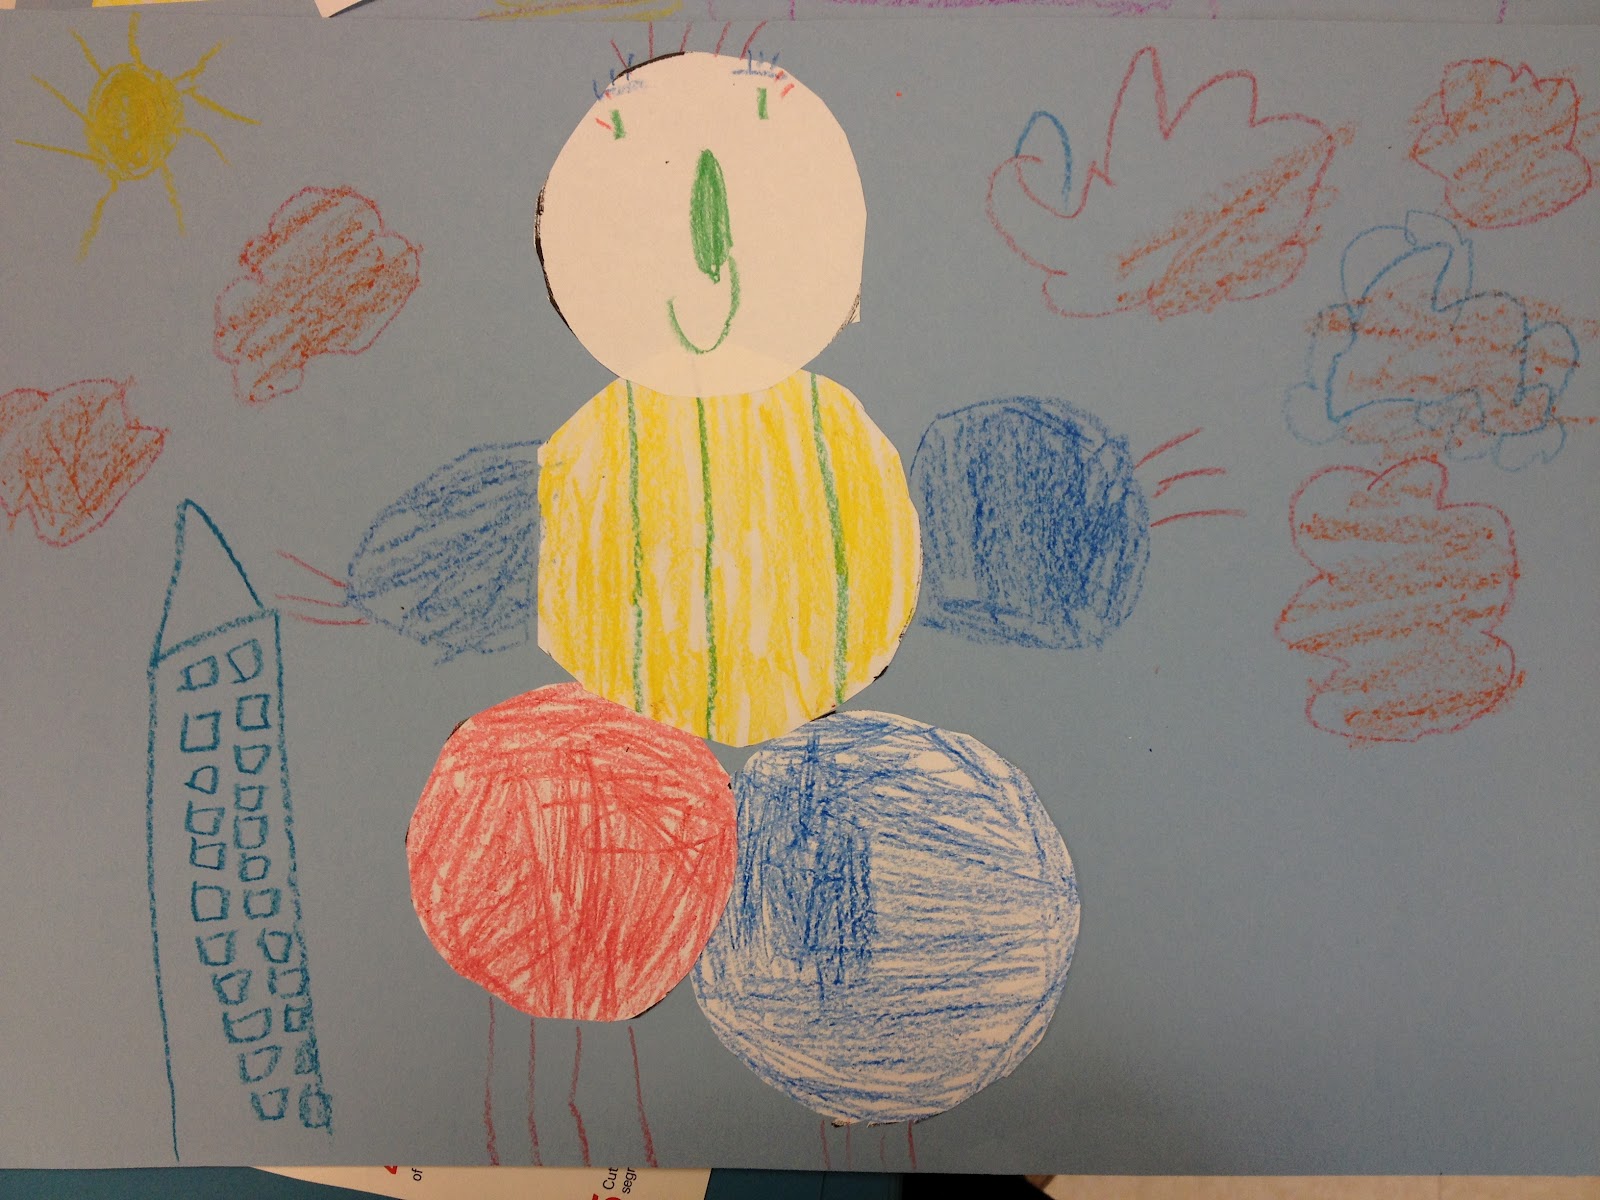
First, take a look at the circles! I gave students a sheet of paper with four circles, had them color the circles, cut them out, glue them, and create a full picture!


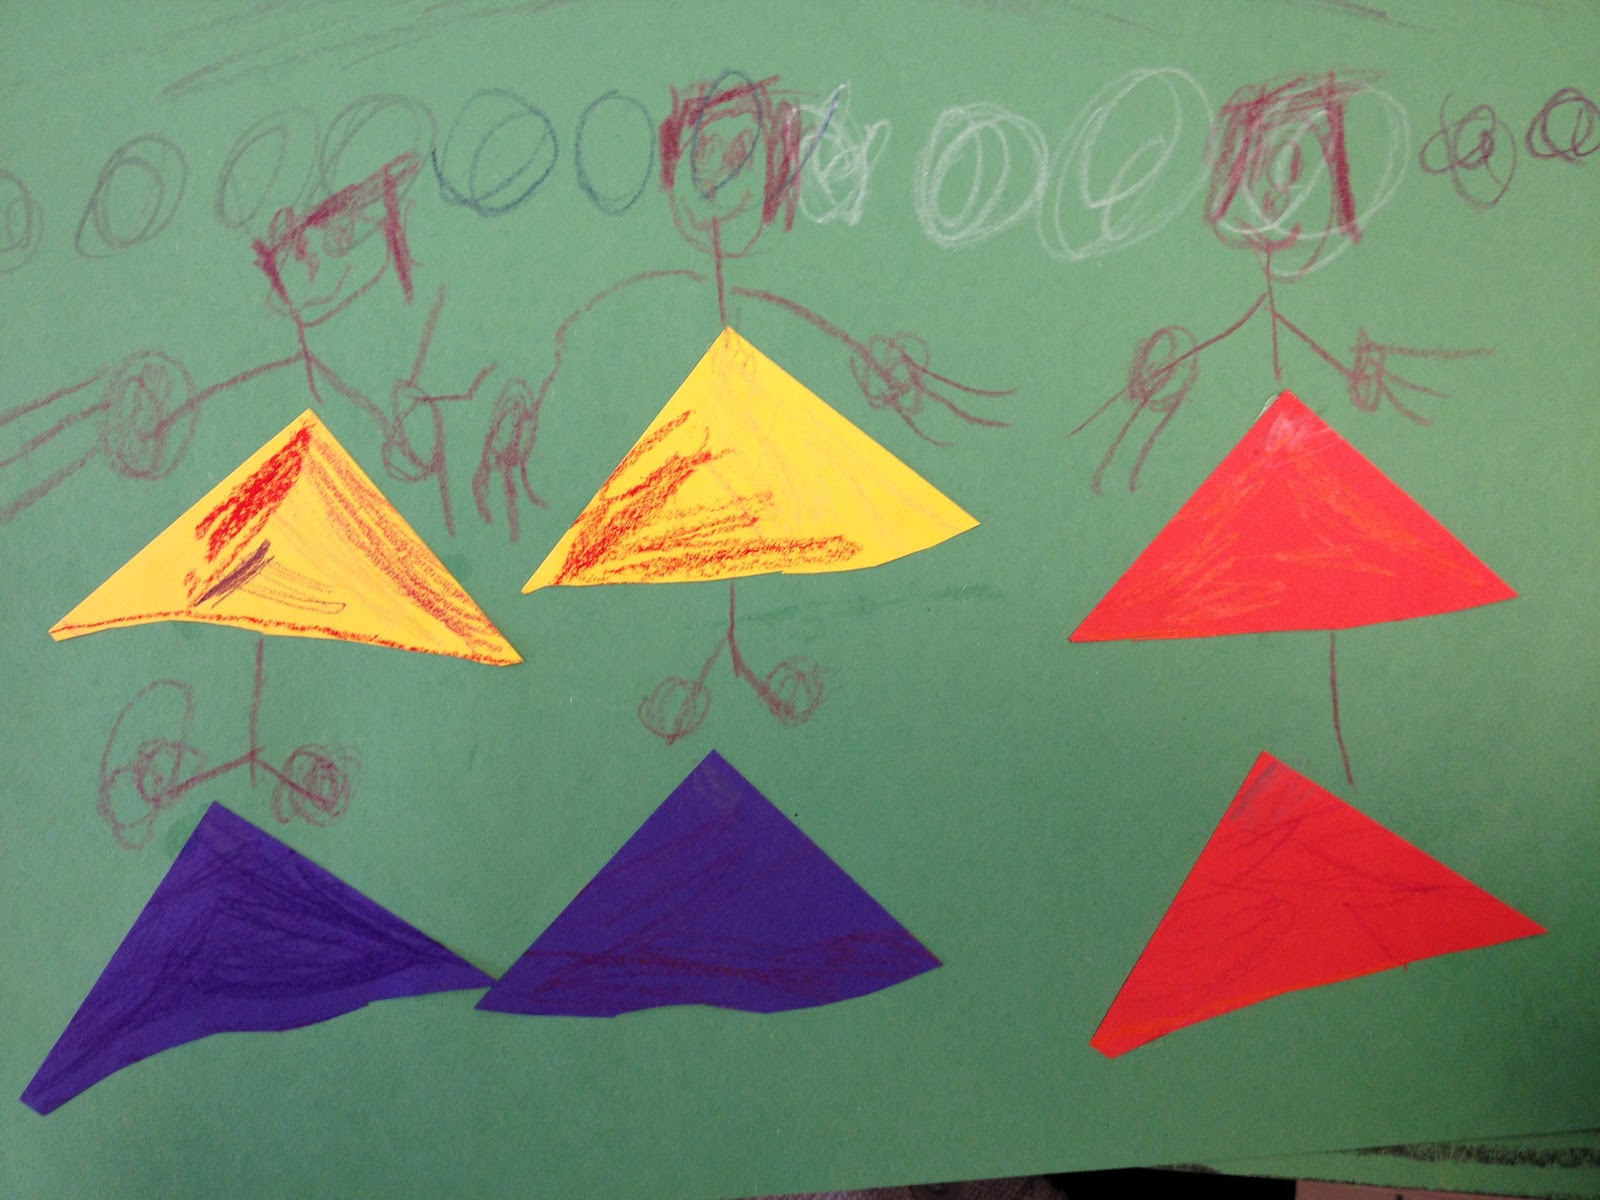
I believe I already posted about the Triangles, but here are some I could not resist posting!


"Hang-gliding through the Himalayan mountains."
Seriously, so creative!


So much expression can be found in each student's piece! I am always astonished at the talent I discover in my classroom.

Monday, September 10, 2012

Kindergarten Triangles

Kindergartners FINALLY got to use their scissors in class! I pre-cut three different colors of squares and demonstrated to the students how to cut a square into TWO triangles. Not all of them get it, but that's why teachers walk around between instructions, right?!

Each student should end up with 6 triangles; however, some mess up and throw pieces away (without the teacher even seeing! Sneaky!!) The students have the freedom to make whatever they would like with their triangles.

Here is my visual demonstration on the chalkboard! I also demonstrated with scissors and a square. Students can draw a line if they choose to. Some students use gluesticks, which is the reason for the second triangle within a triangle.


I reviewed with the students how to glue (3 corners = 3 small dots of glue). Students are told to use their crayons to finish the picture after gluing down their triangles. These turned out very well!


Wow! Look at the creativity!


So many houses!!


This was a very sunshine-y day!


Some students glue their triangles back into squares.
Kindergartners love rainbows!


Another rainbow!


I'm not sure what this is supposed to be, but I LOVE it!


This student threw away half of his triangles, but his end product still turned out nicely (complete with a rainbow, of course!).


blogger template by lovebird