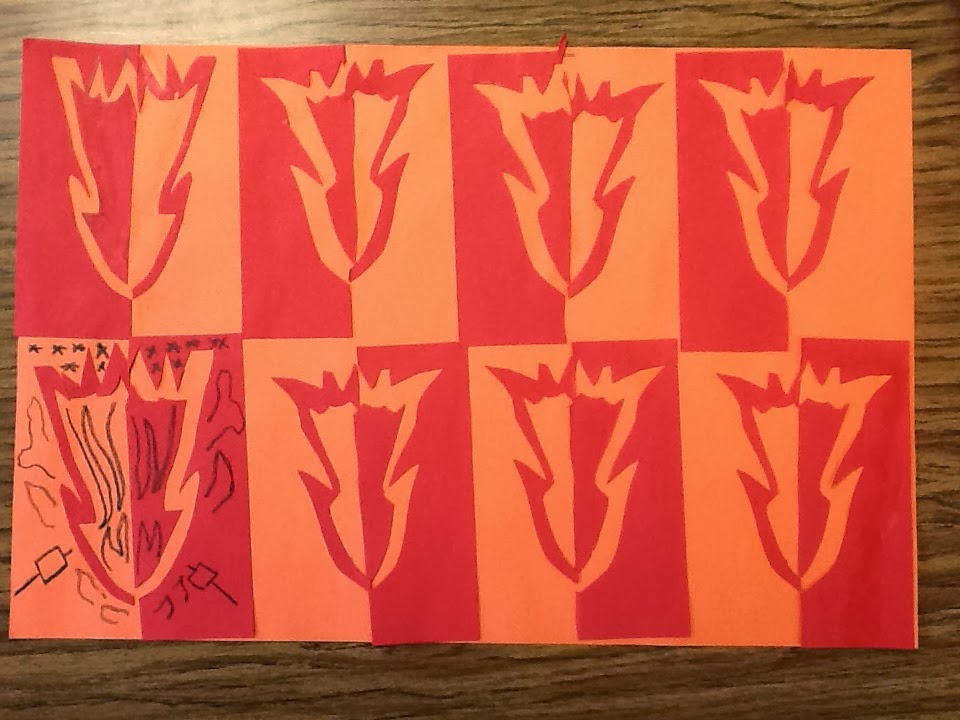
I'm not sure why all of these are sideways, but I will fix it eventually!
Showing posts with label Art Lesson. Show all posts
Friday, August 22, 2014
Scratchboard: 2nd and 3rd grade
Labels:
Animals,
Art,
Art Lesson,
Art Teacher,
Crayon,
Elementary,
Elementary Art,
Patterns,
Scratchboard
Wednesday, April 23, 2014
6th Grade: Crayon Batik
I'm starting this project with one of my 6th grade classes this week! I'm going to have each student draw something that is a plant (flowers, leaves, trees, etc.). For my example, I drew The Tree of Gondor from The Lord of the Rings. This project has really great potential if students can follow directions well!
Step One: Plan out/draw the plant on a 12x12 piece of paper. I used white construction paper. The paper, of course, needs to be white in order for this to work!
Step Two: Color in the design. In order for this to work, you will need to press hard with your crayons to create thick, waxy layers. Anything that you want to make black, you should not color in - anything left "blank" will end up being black! For some reason, I wanted my tree to be white. I don't need to tell you why that was difficult!
Here is my completed coloring.
Step Three: Crinkle that paper! CAREFULLY! Otherwise it might rip on the edges. I've done it a few different ways.
- Option 1: Crinkle and uncrinkle the paper around eight times.
- Option 2: Crinkle the paper vertically, horizontally, diagonally, opposite-diagonally, etc.
Basically, just crinkle it a lot.
Step Four: Smooth that paper out to prep for painting!
Step Five: Mix black tempera paint with a small amount of water and paint the entire paper with it! Crinkling the paper creates cracks in the waxy surface created by the crayons. The black paint mixture will fill in the cracks - batik! I really saturate the top to make sure I don't miss any spots.
Step Six: With a paper towel dab the excess paint off of the paper. Do not wipe it off! If you wipe it off, it will smear black paint all over your pretty picture! Dab, dab, DAB! There should be no pooling of paint by the time you are done dabbing.
Step Seven: Set your picture out to dry! You're done! Gaze with wonder at the beauty you've created!
Friday, March 14, 2014
3D Paper Relief: Radial Symmetry
This project is seriously the coolest! As a class, we discussed different kinds of symmetry with a focus on radial symmetry. With our limited amount of class time (only 30 minutes!) It's hard to do 3D projects like clay, plaster, etc. This project allowed students to make something 3D and introduced simple origami folds. I pre-cut 2 inch squares in a variety of colors for my students. I used colored printer paper from the office rather than construction paper because it's so much easier to fold. My only rules were that it needed to have radial symmetry and, of course, craftsmanship!
Here are the folding steps:
Start with a square
\
Fold into a triangle (bottom left corner to top right corner)
Fold the top layer's triangle in half: tip to bottom
Repeat on the other side
It should look like this from above
Push the flaps down to be flat. The little triangle flaps will be where glue is placed.
These little papers should fit right into each other!
Students started gluing along either a "+" shape or an "x" shape. Some of my students were creative and came up with more complicated designs! Here are a few examples:
This last example is the same lesson, but accommodated for a student who struggles with fine-motor skills like paper folding. He was really excited once we figured out a project he could do with ease!
Monday, February 24, 2014
Symmetry: 4-6th Grade
I have been so busy, I've forgotten all about posting on here! This is a project my 4-6th graders did at the beginning of the year. We talked about symmetry and emphasis. This is also a good project for positive/negative space! Students were instructed to use complementary colors unless they had permission from me to do otherwise.
Tuesday, May 7, 2013
Complementary Colored Hands: 1st Grade
We spent a lot of time on colors in the first grade! This project focused mainly on complementary colors, a bit of a difficult concept for some younger students to grasp.
I had each student trace their hand by the edge of the paper three times, their hand + arm, twice, and parts of their hand on the edge of the paper 2-3 times. Afterwards, I gave students permission to add a few hands if they wished.
I told students to pick out one color to do patterns with on the insides of their hands. On the outside, they had to use the complement of that color to create the circle pattern. Even my older students were impressed with how these turned out!
I had each student trace their hand by the edge of the paper three times, their hand + arm, twice, and parts of their hand on the edge of the paper 2-3 times. Afterwards, I gave students permission to add a few hands if they wished.
I told students to pick out one color to do patterns with on the insides of their hands. On the outside, they had to use the complement of that color to create the circle pattern. Even my older students were impressed with how these turned out!
Tree of Life: 6th Grade
In sixth grade, we studied movement. I have always thought that Klimt's Tree of Life looks like it's moving! My students agreed and we set to each creating our own Tree of Life. Students used tempera paint and oil pastels to create these beautiful, unnatural trees!
I wish this student had been able to finish! He was working very steadily and doing an amazing job!
Labels:
6th grade,
Art,
Art Class,
Art Display,
Art Lesson,
Art Nouveau,
Art Teacher,
Elementary Art,
Klimt,
Movement,
Oil Pastels,
sixth grade,
Tempera Paint,
Tree,
Tree of Life,
Trees
Evil Twin: 4th Grade
This project was a lot of fun! I walked students through how to draw a portrait. We drew our faces step-by-step together. Students had to finish in that first class. During my prep, I photocopied each portrait twice. That means each student had their original plus two!
I explained to students that one portrait needed to be colored like how they really look. The other portrait was their evil twin! Students loved coming up with how to make their alter-egos look.
My example:
When both portraits were finished, I had students bring me their two portraits. Using the paper cutter, I chopped the portraits up together into 1-inch strips! Students reassembled their portraits, alternating between good and evil sides. Each student ended up with two portraits!
Here is my finished example! Fun, right?!
Labels:
4th grade,
Art,
Art Lesson,
Art Teacher,
creative,
csi,
Elementary Art,
evil twin,
fourth grade,
portraits,
self-portrait
Hot Air Balloons: 2nd Grade
Second grade did a collaborative project with Hot Air Balloons! We looked at the artist David Kracov and imitated his style. Each student drew, colored, painted, and cut out a hot air balloon on a piece of posterboard.
I had students come up by table and lay their balloon somewhere on the floor overlapping one another. I used pieces of foam to space out the balloons as I attached them (I used masking tape).
I put them all up after school and decided they were missing something. So the next day, I had each student create a cloud! Here is the final product!
Looking back, I wish I had taken the time to cover the board with a blue paper. The final piece is still pretty amazing though! Go second grade!