Monday, January 14, 2013

4th Grade Sunflowers in the style of Van Gogh

I attempted to teach a really awesome lesson on Vincent Van Gogh's sunflowers. I even showed a clip of Doctor Who's "Vincent and the Doctor" (which is pretty awesome, by the way). My students seemed really into it!!

...but...well, this lesson kind of flopped. I think my students got too bored with it. I was REALLY discouraged, but then a few students really pulled through! I mean, these sunflowers are gorgeous!!


I had asked the students to color in their pictures using dots only. I realized a little too late that the papers were a little big for that. It would have been easier (maybe) to use paint, but I only have this class for 25 minutes!! At my other school, I tried using paint and oil pastels, but the classes that used crayons honestly turned out much better than the other ones. Trial and error. I really like this first one (^) and how the white spaces make it look even more like Van Gogh's style!


Another one that turned out well! This student colored in, then added dots on top. A great approach really.


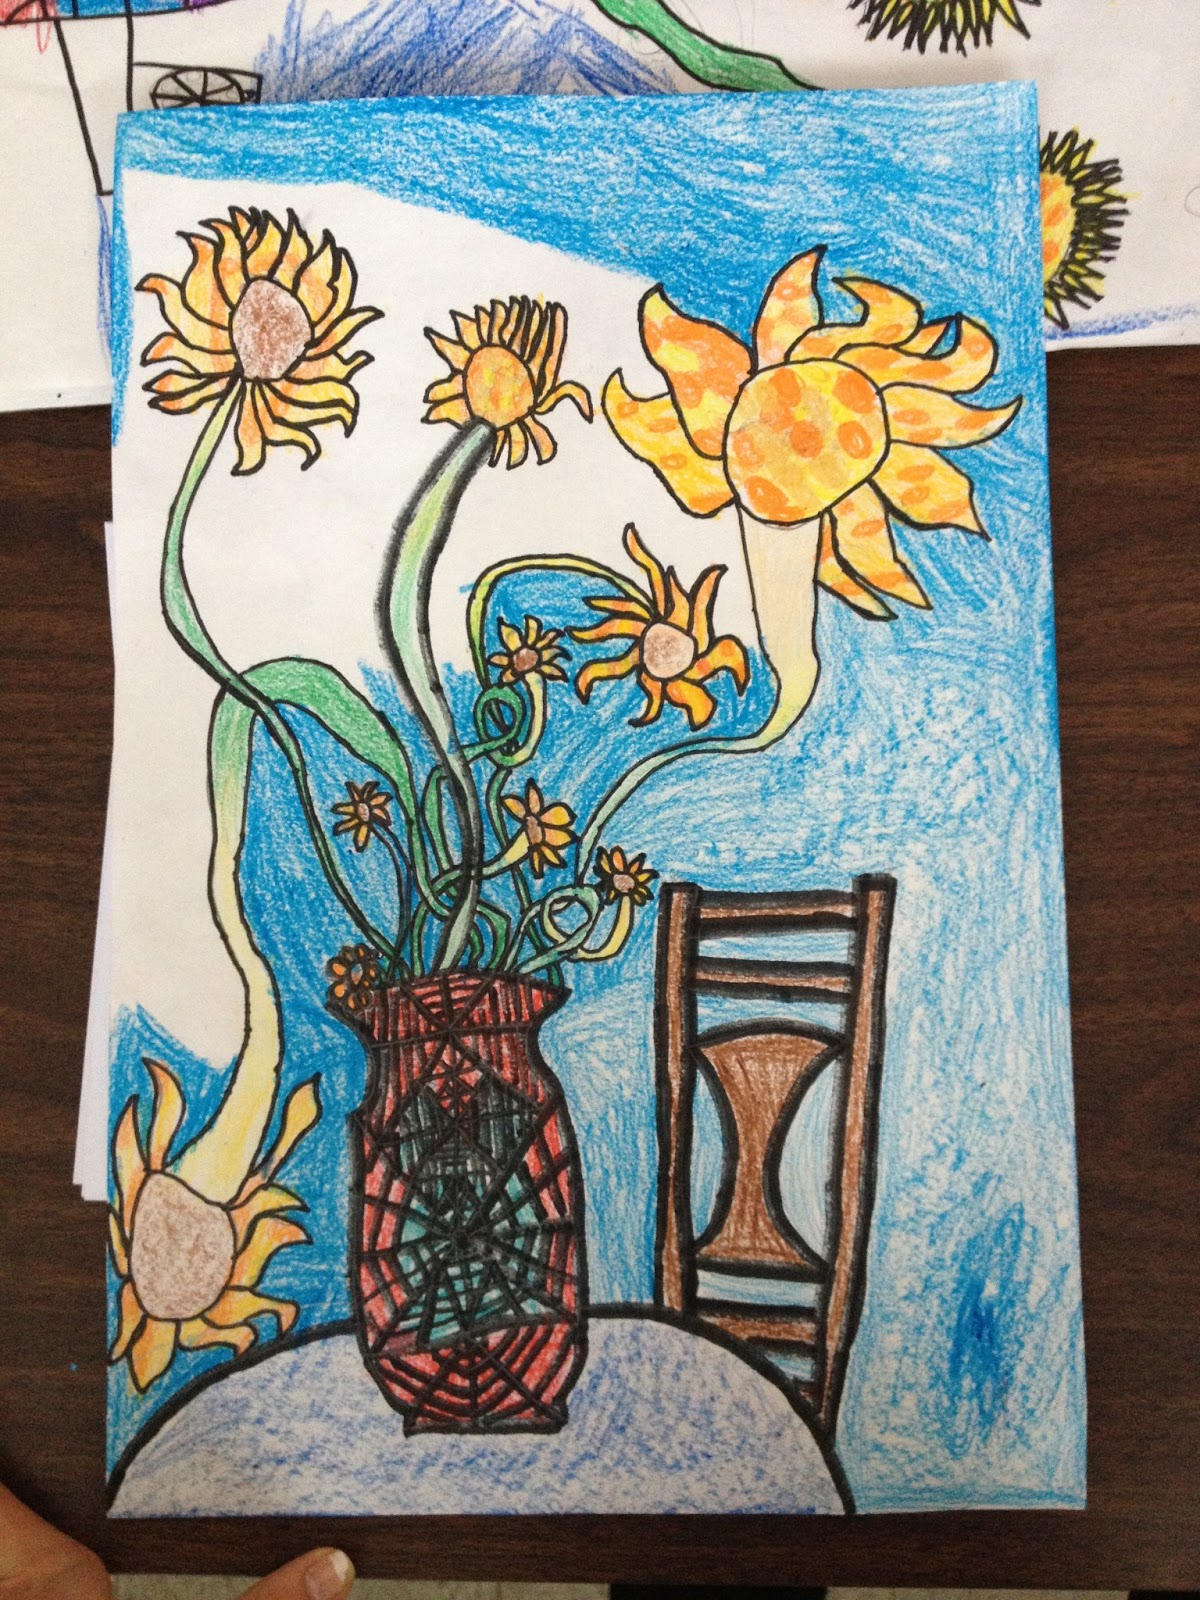
Many of my students decided to stop doing dots after the petals were done. I ended up having to grade these differently than I had originally planned. This lesson definitely needs some adjustment. Feel free to post any suggestions for future reference!

Kindergarten Alligators

This lesson (another I borrowed from my student teaching experience) made use of the shapes students had already learned and made something BIG out of them! That's right, alligators!! The students LOVED these (and the teachers even commented on how cute they are!)


Each section was executed in a similar way. I cut strips of paper (yellow for squares and circles, green for feet) and figured out how many times they would have to be folded in order to create squares. We folded our paper together as a class. I had students cut out each square by cutting on the fold mark. The squares were glued on as is. For circles, I had students draw circles on each square.


Here is a visual for the face and teeth. I drew and photocopied the eyes/teeth paper. When I taught students how to create toes, I related it to letters (V, W) they had been learning (woo!)

My kindergartners did SUCH a good job following directions on how to glue the teeth/feet on! Their end products were even cuter than my example! But isn't that always the case?

2nd Grade Dutch Cities

For a free draw before (while students were finishing up) I assigned students to draw a gingerbread house. I don't know if anyone else has noticed, but gingerbread houses look a lot like Dutch architecture! This is what inspired the Dutch City project.

I showed students pictures of Dutch buildings and talked about how their roofs looked, windows, etc. I also emphasized how close together the buildings are. They really seemed to like the buildings, especially after we connected them to gingerbread houses. After we finished the project, one of my students even brought in a picture of Dutch architecture which he tore out of a magazine. Hooray!


For the project, I cut 12x18 sheets of paper in half (6x18). This provided a long, skinny piece of paper. I had students use their pencils to draw buildings with crazy roofs, lots of windows, etc. with walls super close together. Students then traced their lines with permanent marker (not crayola marker!)

Students colored in their buildings however they liked with crayons. The only parts students were NOT to color in were the sky and the windows. I told students to press kind of hard with their crayons to make the colors smooth and bright.

Students used watercolor to finish these buildings! For the sky, students were to use both blue and purple. Some of the skies look pretty amazing! Students painted the windows in yellow.

With a class size of 36, it is hard to come up with a good project for 2nd grade!! I am very satisfied with how these turned out!


(Two students had to paint on a different day because they were not finished coloring!)


blogger template by lovebird